
Microsoft Teams is an amazingly powerful collaboration tool that’s available as a part of the Microsoft Office suite.
At its core, it’s kind of like Slack on steroids, but that core functionality is just the tip of the iceberg. Because it’s integrated with the rest of Microsoft Office, it has so many powerful features.
One feature area in Microsoft Teams is the ability to host and join virtual meetings. Users can join or host meetings from desktop or mobile. Mobile users can share files with the group, and we covered that in a previous post. Desktop users can share screens with other users, and with a surprising degree of control. Here’s how to take advantage of this feature.
Step 1: Create a Meeting
The Share Screens feature works from within the Meetings function, so the first step is to create or join a meeting. Locate the tabs bar (usually on the left side), where you’ll see icons like Activity, Chat, Teams, Meetings, and Files. Select Meetings, and then create a meeting (or join a meeting that someone else is hosting). The Meetings tab is tied into your Outlook calendar, allowing you to see potential conflicts.
Quick note: Teams features can be enabled or disabled at the enterprise level. If you don’t see a Meetings tab at all, your IT department hasn’t enabled it yet. Contact IT and plead your case for enabling this awesome feature.
Step 2: Click the Share Button
Once the meeting is in progress, you’ll see a series of buttons in the bottom middle of your screen. If you don’t see them, move your mouse to that location to make them show up. You’ll see buttons for video (if enabled), microphone (for muting yourself), ending the call, and more. The one you want looks like a rectangle with an upward arrow. This button, aptly named the Share button, represents screen sharing. Click it to continue.
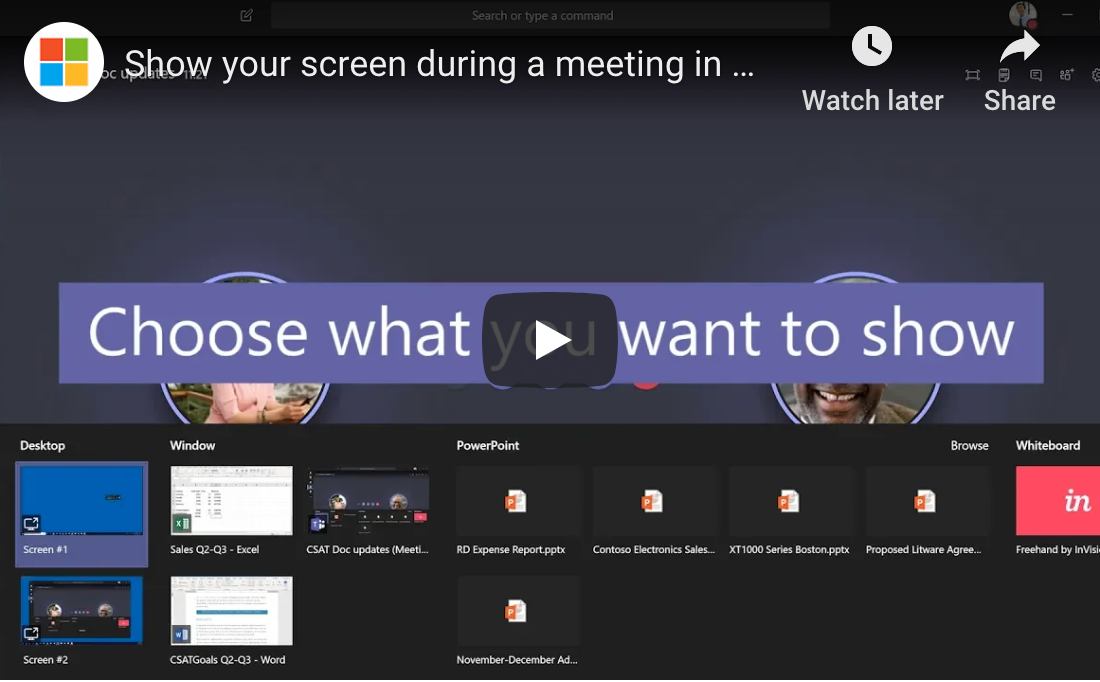
Step 3: Choose What to Share
Screen sharing isn’t exactly new technology, but the implementation here is particularly well done. When you click the Share button, Teams doesn’t immediately share your entire screen. Instead, you have options. “Desktop” allows you to share one of your desktops. “Window” lets you choose a single window or app to share. “PowerPoint” shares the presentation you choose. There are even more options available under “Browse”.
Conclusion
This level of granular control makes screen sharing in Teams a killer feature, and there’s so much more that Teams can do for you. Team-based chat, productivity tools, and real-time collaboration on nearly any Office file are a few more ways it can help. If you’re ready to keep exploring, contact us to keep learning.
![]()