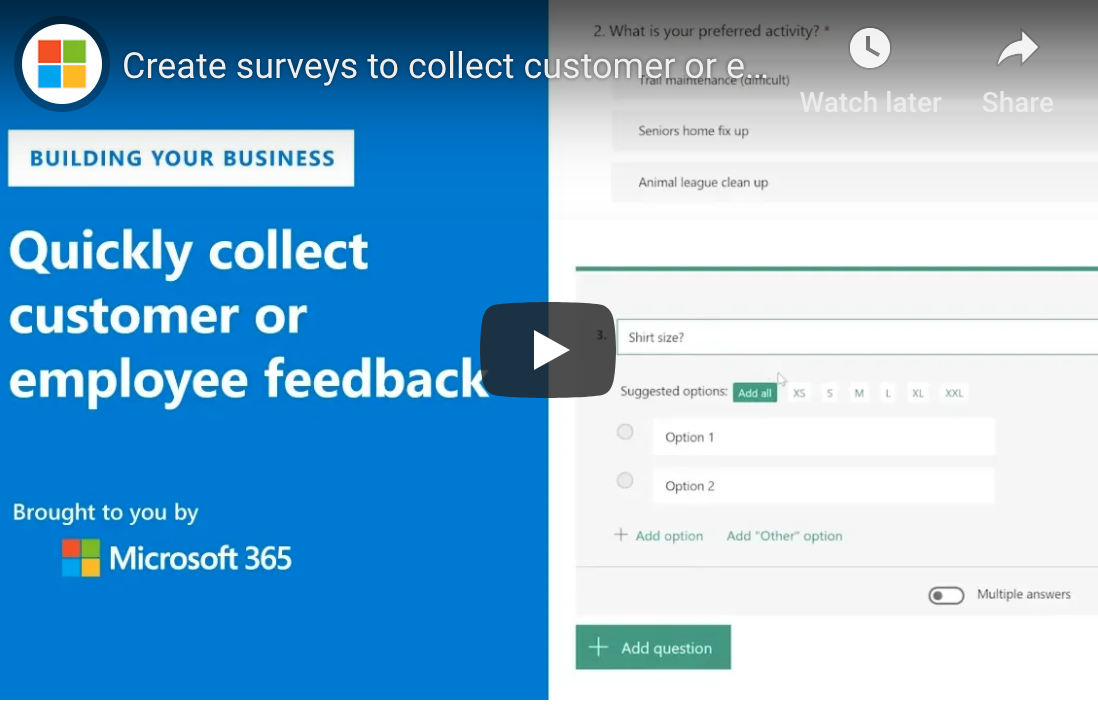
How Can I Create Forms and Surveys with Office 365?
The steps required to create surveys are straightforward and don’t require a great deal of technical knowledge. You can find the full instructions on Microsoft’s support website, but this quick snapshot should be enough to get most people started. Since the forms use Microsoft Office 365, each cloud-based form or quiz saves automatically as you move through the questions.
- Log into your Office 365 account by going to forms.office.com.
- Select the option to create a new form or quiz.
- Enter a title for your new form and the optional subtitle — be specific enough that the name will make sense out of context for others!
- From here, you can add questions and include a variety of options for answers such as Choice, Text, Rating, Ranking or Date questions. You can even create Net Promoter Score questions when you click the “More ***“ option.
- Complete your form or quiz by adding as many questions and types of answers as you would like.
- You can even add “Other“ options that allow users to input additional text
- As you’re moving through your questions, be sure to select “Required“ on any questions that you want to force users to answer before stepping to the next question. If you do not select “Required“, users will be able to advance through the survey without making a selection.
The user interface is very simple, but quite intuitive for most users. There are several thoughtful additions to the form setup that will help you stay productive and quickly create your forms. For instance, when you create a question such as “Which day of the week should we go?“ the artificial intelligence in the form will automatically suggest all seven days. You can then select which days you’d like to add as answers.
User-Friendly Options to Automate Your Form
Creating a form is pretty easy, but what about organizing the various questions? The Office 365 Form module allows you to shift the order of the questions once you’ve created the quiz or survey, smoothing the process for form creators and for users. You can also copy questions to reduce the amount of typing required during the form creation process. Need to have someone enter an answer only in numbers? No problem! You can restrict responses to only accept numbers, and even limit the range of numbers that you will accept in the form. That means less time on the back end as you’re interpreting survey or form results. You can even select a theme for your form or add some graphics to make it more fun and engaging for users.
How Can I Send My Form or Survey to Users?
Once you have finalized your form, the only thing left to do is send it out to your users! Fortunately, this is just as intuitive as the form creation process since everything is fully integrated into Microsoft Office 365′s cloud-based platform. You’ll simply choose whether to share the survey to others in your organization or if you want to open the form for those outside your Office 365 ecosystem. Once you’ve determined your sharing options, copy the link to the survey and include it an email, SMS text or instant message to your selected audience. You can even create and download QR codes or embed the form on a landing page.
How Do I get Responses to Microsoft Office 365 Forms or Surveys?
The Microsoft team has made it extremely easy to gain access to the form or survey responses. Each survey has a “Responses“ tab, where you will find everything that you need to know, including;
- Number of responses
- Average time it took respondents to complete the survey
- The current status of the survey (Active or Inactive)
You can also download the results of the survey to Microsoft Excel or even flow the data to Microsoft’s analytics platform: Power BI.
While the Microsoft Office 365 Forms option doesn’t have quite as many options for branching as you would find in a dedicated survey tool such as SurveyMonkey or Typeform, it is a fast and intuitive way to quickly get responses from your audience. What makes it even more attractive is that it’s included for free in your Office 365 license.
![]()


